
Magicka Game Walkthrough
Chapter Eleven: Raiders of the Lost Ruins
| Chapter One | Chapter Two | Chapter Three | Chapter Four | Chapter Five | Chapter Six |
| Chapter Seven | Chapter Eight | Chapter Nine | Chapter Ten | Chapter Eleven | Chapter Twelve |
Secrets, Weapons, and Spells Checklist
Invisibility Spell
Moose #11
Righteous Rod of Runes
Axe of the Dwarf Champion
Summon Elemental
Holy Divider
Arcane Saber
Throughout this chapter, you'll face one of the most irritating enemies in all of Magicka, the Yeti. They can devour you in one bite, and are a frequent enemy so this is quite the point of frustration. There are two simple ways to avoid this fate. One method is to press F Middle mouse, and ignite your Wizard. Similar to the Warlord Khan, back in Chapter Five, they will not pick you up while you're on fire. If they do pick you up, it will also make them drop you. Casting this gives you just enough time to use F-Q-A-A-S-S beam and kill them. The melee attacks are no biggie. It's the bite. The best option is to use Charm (W-E-D, Space) and cast on them, following up with a beam. This is the better option because against two, they can stagger your Wizard and make it hard to get off the beam on both before the fire wears off. With that in mind, as you walk about, keep the W-E-D elements ready so you only need to cast space. It does work twice if you encounter two Yeti.

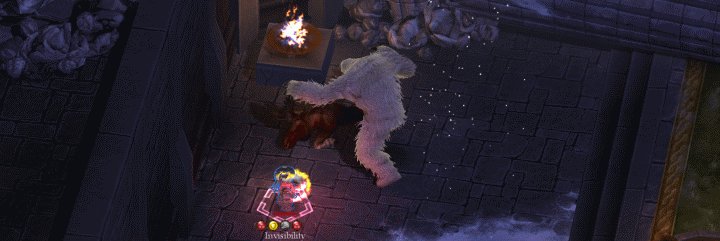
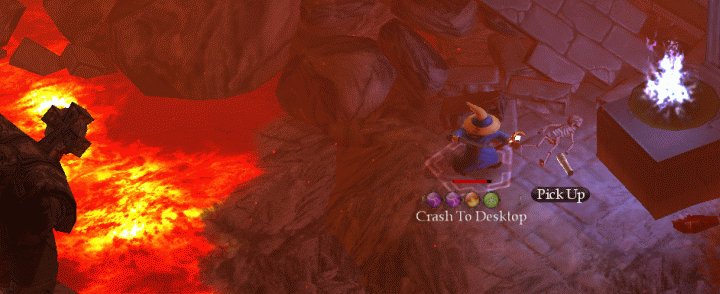
Head northeast, and as you kill your second yeti, you'll come to a fire burning. South of it, a Yeti will emerge. Dispatch the beast, then head south into the area he came from. There you'll find the Invisibility Spell. If you cast this � S-E-F-Q-S, you can run through the rest of this first area with no further trouble. When you reach the gate, cast F-F-F-F-F in an area attack in the center of the big circular area (see the flames around it?). The door will open, bringing you to the second area.
Just to your North is Moose #11. You can get this without conflict if you use Invisibility. You can go through the rest of this area without fighting a single enemy, just don't get too close to the Beholder. If you want to fight, remember the Charm spell. It's absolutely wonderful, but a bit exploitative. There is nothing else to find here.
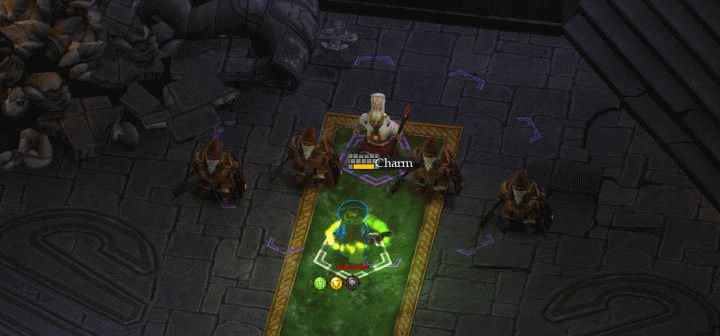
The next area pits you against Dwarves. Cast your shield (E+Middlemouse) to protect yourself from the Wizard's spells. He drops the Righteous Rod of Runes, which protects against lightning and gives a damaging aura, but it's probably not as good as what you're using. These guys can be dangerous, and kill you in one hit with one type of spell. Always use a shield (E+middlemouse) against them. For this first fight, go invisible, get close, then cast Charm on him and proceed to blast the group. A Dwarf to the north will drop Axe of the Dwarf Champion. When you reach the bridge, use Charm on the Beholder and he'll help you with the Warriors, then pop the Beholder. Cast a fire spell on the circle here, then go inside to get Summon Elemental. You can now go back out and take the south exit.
In this small section, you'll face two Yeti. Charm them as usual.
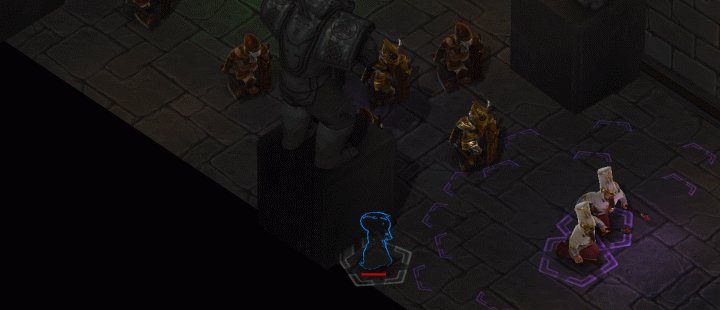
You'll now be in a long hall. There are multiple approaches for the battle here. Dying at first isn't bad as it gives you a little more time to prepare. Charm works, but you'll need to cast it a lot. Another tactic is to use lots of Elementals. I love them when Arcane magic has been cast. You must keep your shield up at all times, as there are multiple Beholders and Wizards in this area. While fighting your way through has its merits (fun), you can also cast Invisibility and hide behind a statue. Nearly everything in the area will simply walk out the door behind you.
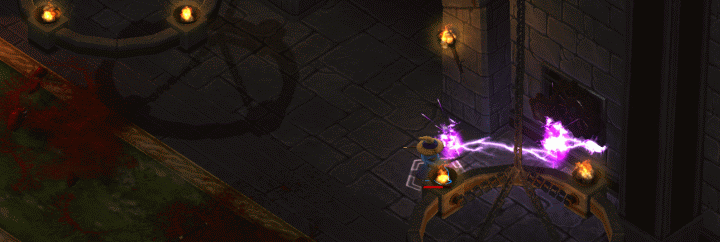
If you're an achievement hunter, you face a little annoyance here. Getting both Sherlock Holmes completed and the Dragon Slayer achievement with Gram will require you to reload. Look for the gears on the eastern wall, and cast A-A-A-A-A against it. This will open the door. Inside, a Dwarf Smith will give you the Holy Divider sword, which is quite powerful. It can kill many enemies with just one blow. However, if you want to slay the dragon with Gram you'll need to go back out, and kill yourself then deal with all the enemies again to achieve both. Gram will have been lost after going in. I suppose the only other weapon you might go through this annoyance for is the M60. Anyway, when you've dealt with that dilemma, press on through the northern door.
This area can be dangerous as you can be knocked into lava. Use Invisibility to give yourself the time to pick and choose Charm targets, namely the other casters. Use Fire Immunity (F-E-Middlemouse) which will give you a little over 10 seconds of protection from the salamanders. If they ignite you, you could go running into the lava. You'll come to a checkpoint � be sure to tag it. We can now get the final secret in this area by freezing the lava to the northeast. It's dangerous as there are salamanders that will spit fire and make holes that can kill you. Push toward them and get on land with your shield raised, then zap them with F-Q-F-Q-A-S-S. Thank goodness for that checkpoint, because if you die you'd have to do the whole Army thing again. At any rate, when you finally succeed in doing this, you can get the Arcane Saber from the northeastern section. Head west and use Teleport (A-S-A) to get up on the land.
You'll come to a fallen pillar. Keep your shield up, and attack the salamander from afar. Use Charm on the Wizard, then slay him. If you've had your fill of combat here, cast invisibility and head southwest. Teleport past the rubble, and you're done with the area.
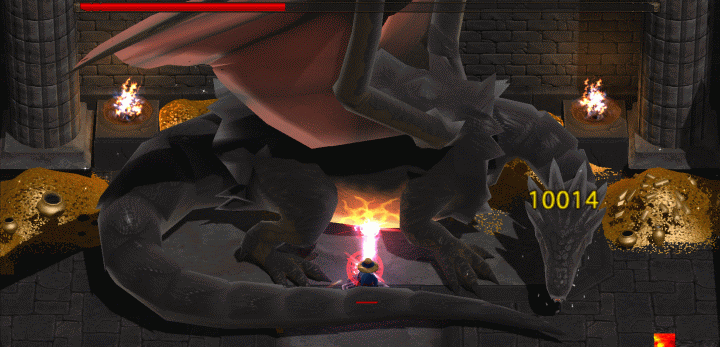
Boss Fight Strategy � Fafnir the Dragon
The winning strategy for this boss isn't too hard to pull off. Fafnir is weak only at his stomach (one hit with Gram will kill him earning the Stuff of Legends achievement). Every time he rears up, cast F-E, middlemouse. This will grant you fire immunity. Teleport behind his tail with AFA and use F-Q-F-Q-S-S-A to zap him. Keep this up, even as his spells knock you around. Thankfully, keeping Fire Immunity going will allow you to avoid immolation and running about into the lava as he breaks chunks of the floor. Really, you can get by with no damage whatsoever if you keep fire protection up! If you're lucky, you can get in as many as 20,000 damage in a single burst. He only has about 30, so that will see you through. In writing this walkthrough, I got lucky and was already there when the floor started breaking, and my beam hit him the entire time. When the battle is finished, you will receive the Corporealize spell for dealing with the final boss. Congratulations, Dragon Slayer.